For those of you who just want photographs of how it turned out scroll down to the bottom for those who enjoy reading about my trials and tribulations read on.
BIG TIP: For your first attempt at a pattern with cabling don’t choose a pattern with mistakes in it! (Though, now I have finished it, I am beginning to wonder if the mistakes have come in because of the person who knitted the jumper in the picture from the pattern rather than the pattern itself.)
Let me explain
Can you see below that the diagram in the pattern is not the same as the picture with regard to the way the front bands overlap. 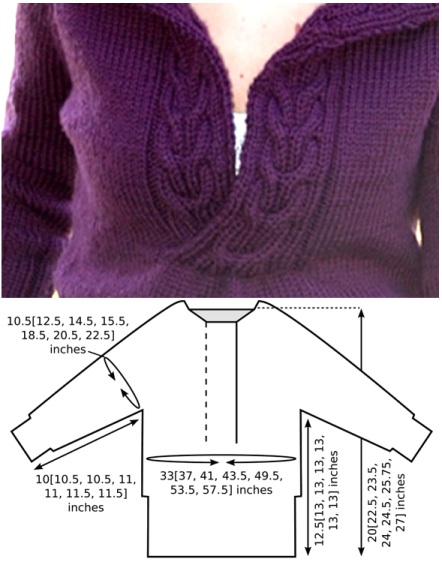
You will see that if I have a photograph I don’t bother with diagrams except for measurements.
Now the instructions said:-
“LOWER BODY
Continue in pattern until work measures 3[3.5, 3.5, 3.5, 3.5, 3.5, 3.5] inches from underarm, ending with a WS row. Place last 25 sts of row (right front band) on double-point needle, and hold behind first 25 sts of row (left front band).”
I would take left front band to mean the left-hand side of ones body as that is normally what patterns mean but it looks as if the designer meant the left hand side as you look at it.
The person who knitted the jumper interpreted the instructions as I did, though when I wore it and thought about adding a button it felt as if they overlapped the wrong way! Which is to say they overlap the man’s way rather than the normal woman’s way.
Now the cables on the bands as shown in the picture are mirrored  and that is certainly how they look best. BUT maybe the designer hadn’t thought about that and really meant them to be the same which would eliminate all the problems I had with the collar – as described below.
Picking up the stitches from the provisional cast on was really quite easy and even picking up the stitches at the sides went much better than usual.
But when I got just beyond the cable row I realised that I was going to have to reverse the cabling for the last one as I had done before because it looked wrong and had a strange twist.
A few rows later after the second cable row I examined it again and realised that by reversing the last cable I had created a different sort of twist in the pattern on the right side. Had it been on the wrong side it would have been okay to anyone except a perfectionist because it wouldn’t have shown.
Going back to comments I had read on Ravelry I realised that other people had had this problem too but as I was new to cabling I found it very hard to get my mind around what was happening and to work out how to correct it.
I spent hours thinking about it as I went about my other activities.
I have a passion, almost an obsession, about symmetry and so I wanted whatever twist or discrepancy there might be to be symmetrical. This was hard with seven cable panels as I did not think I could work the mirroring in the middle of the cabling. But then I realised that the neck-line was quite big and I didn’t want it to be drafty in the middle of winter so I worked out that if I reduced the original number of stitches by sixteen I could have six panels three one way and three the other and symmetry!
So out with the needles and rip out row after row till almost where I picked up the stitches. Now for my first pattern row I knitted two together sixteen times evenly across the back part and was set.
This gave a perfect looking arrangement on the right side 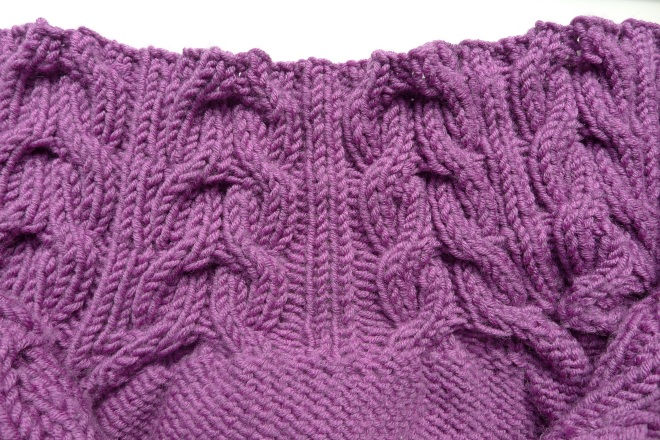 with an extra kppk on the underside of the collar, in the centre back where it will not show.
If you scrolled down from the beginning start again here!
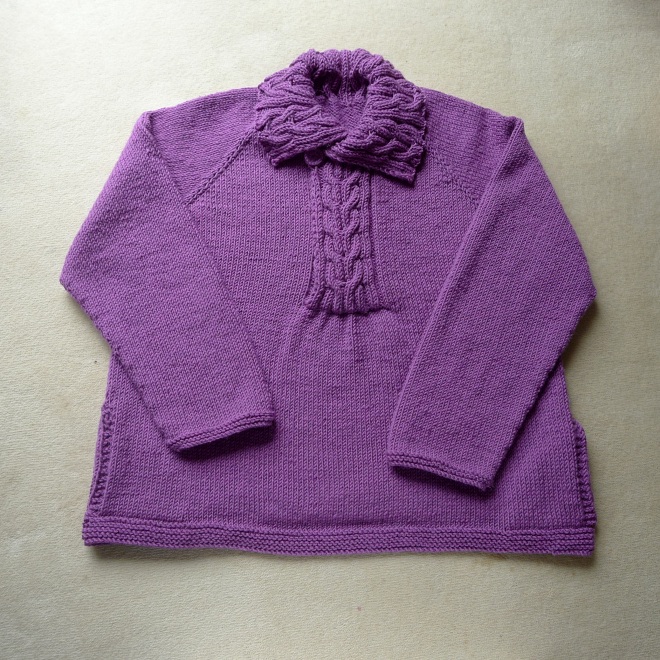
Here is the finished bed jacket. (No, I still haven’t bothered to iron it!)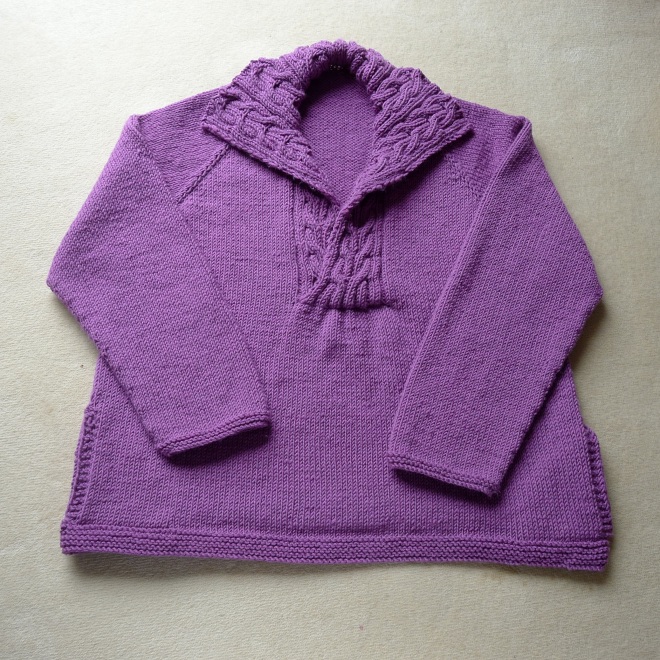 I decided that I would like a button to close up the neck on chilly nights so, not having anything suitable in my button jars I looked up how to crochet a button.
I had these plastic washers 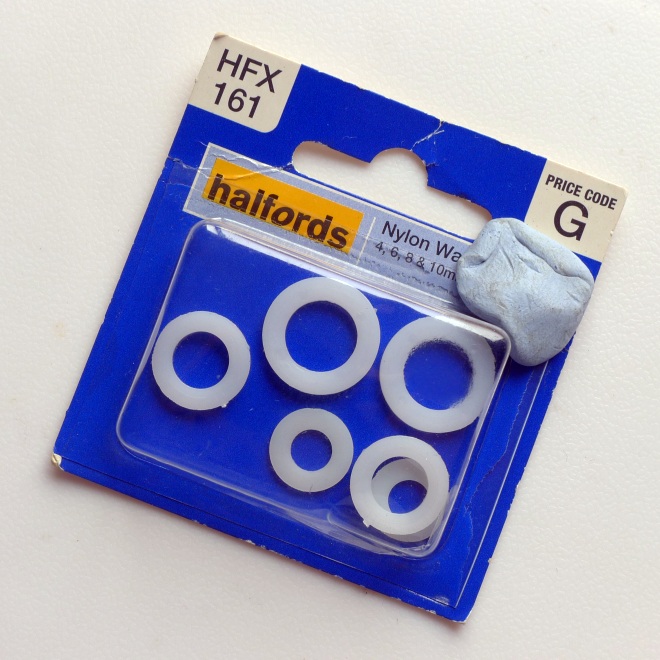 that I had bought to give the smallest to my son when he lost one from his bathroom light! I thought they would make a firmer button.
I used the largest ring (10mm) and a 4.5mm hook first as a trial then changed to the smallest ring (6mm) and a 3mm hook for the final button. 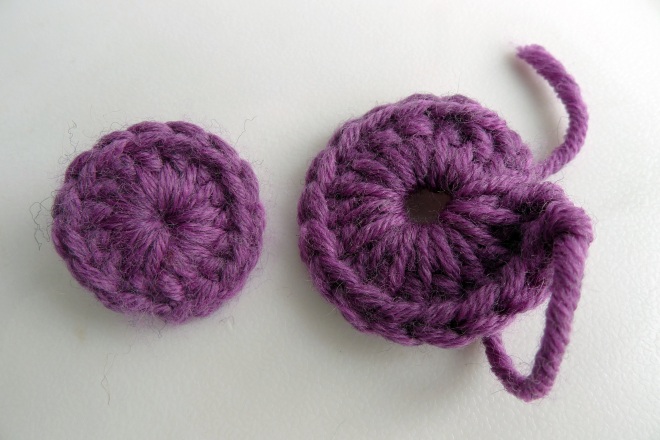 I even added a shank on the back.
  Here is the bed jacket with the button done up.
  And here I am wearing it. I thought I should photograph it over a nightie to give the right look, though it is much to hot for a jumper let alone a winter nightie at present!
 (Note to self don’t pull on it and get it out of shape!)
and done up. 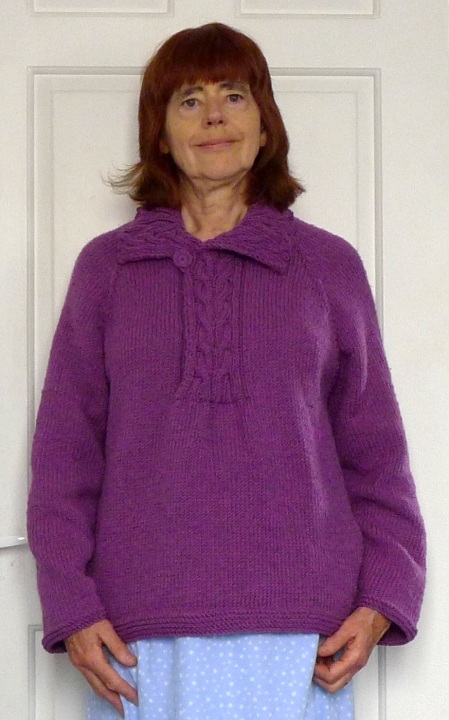 It will be lovely and warm and comfortable to wear. Shame we are having a heatwave at present 😉
(The temperature has dropped a little since I wrote this Monday.)
oooo that looks comfy, love the crochet button – I’m going to try that one.
I admire your determination to get it right.
P.S. According to the forecast, it’s going to be cold enough to wear at the w/e.
LikeLiked by 1 person
That’s good then! 🙂 Actually I like the weather about this temperature before it gets really hot later on.
LikeLiked by 1 person
My goodness, how much do I love this?! Popped right over from my reader to get the story behind it. Very impressed with your skill and commitment. I adore that you added your own touch of the button, which is an improvement for sure. Three cheers!!!
LikeLiked by 1 person
Thanks. Glad you liked it.
LikeLike
wow.. such great tip and determination in getting right. I have to remember this useful tip. and also push myself to be perfect in my knitting. you are really an inspiration. 😉
wishing you happy spring ahead.
LikeLiked by 1 person
Thank you! My knitting isn’t perfect but I do like to work towards it being less imperfect! 🙂
LikeLike
It would even keep you warm sleeping in the garden!
LikeLiked by 1 person
Well maybe tonight! The weather seems very close.
LikeLike
Interesting symmetry comment. I too have to have things line up evenly. Just had a new hearth put in and I explained to the guy that the width either side doesn’t matter per se, but that it be exactly the same either side was key. My eye will never be able to accept it being off! Must be in the genes. Or maybe it’s a familial curse!
LikeLike
Mm. How’s your spelling? I’ve always related my desire for symmetry to my ease of confusing left and right and my mild dyslexia which interferes with getting letters and numbers in the right order. So that makes symmetry more relaxing. Could well be genetic though.
LikeLike
There goes that theory… my spelling is effortlessly accurate (typos aside).
LikeLiked by 1 person
That’s interesting. There must be some other reason then. Some aesthetic consideration.
LikeLike
Looks pretty and oh so practical. Lovely colour and cables. Terrible that the pattern had errors.
LikeLike
Yes, well as I said in the end it was a miss-match between pattern and photograph but it did look better that way.
LikeLike