Prompted perhaps by Patch’s post http://madebypatch.wordpress.com/2013/09/22/decisions-decisions
I have decided to share my planning process for the CAL blanket. I hope it doesn’t come out as too geeky.
Because –
It isn’t enough for me to just use a hook and yarn, I seem to need to incorprate the computer into my blanket creation.
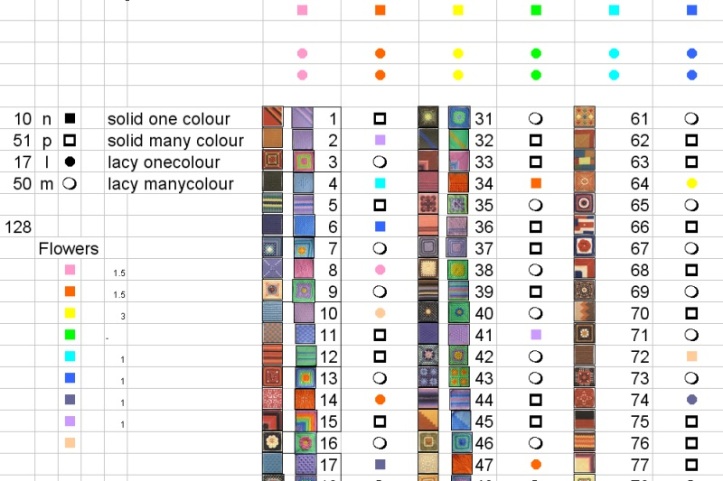
So right from the start of the CAL I set up a spread sheet having found the pages with the pictures of the squares on Amazon.
(Here is part of it as it was about half way through.)
As you can see I added mine as I did them.
I also tried to use it to help categorise the blocks and balance the colours.
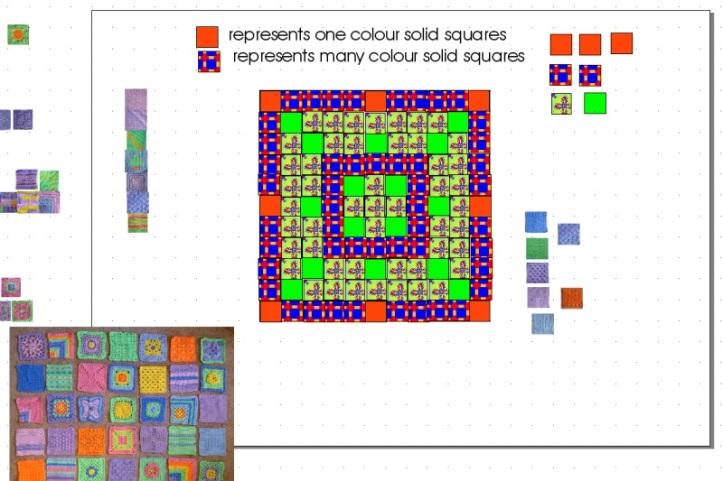
In addition I added photos of the squares to a drawing programme I have and began to plan.
(Here is a part of the drawing from where I started.)
I didn’t formalise what I was doing it was all in my head but now I have finished the plan of the finished blanket I can see that I set myself the following conditions.
My conditions:
- The best flower squares should have pride of place in the centre of the blanket.
- They should be separated by single coloured squares in symmetrical way so that they stand out from each other.
- Other ‘interesting’ squares should be spaced out similarly.
- The ‘bobble’ squares should be arranged in a symmetrical pattern again more to the centre so they stand out.
- The other blocks should be as far as possible be arranged by type so as to form patterns.
- The squares round the edge should be mostly fairly solid squares so the edge was firm.
- Adjacent squares should not be of predominently the same colour.
- The plain coloured squares should as far as possible be positioned so as to create a balance for each of the squares in the same colour set.
- There should not be any glaring colour patterns in the design.
I spent quite a bit of time satisfying 1 to 6 using the computer drawing programme I showed you above.
Then I laid the actual crochet squares out on a sheet and worked on improving the design using 7 to 9.
With various family issues restricting the time I could spend on this I finally settled on what I felt was a ‘good enough’ solution.
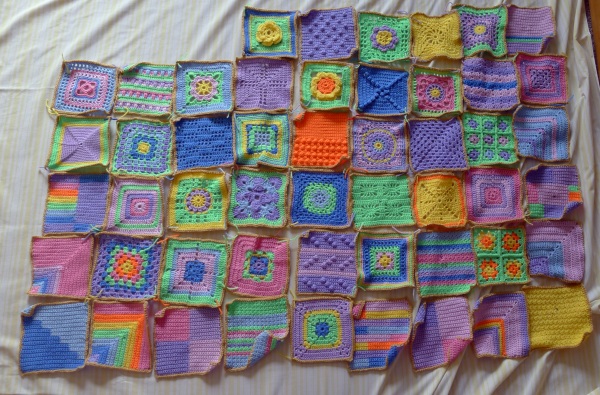
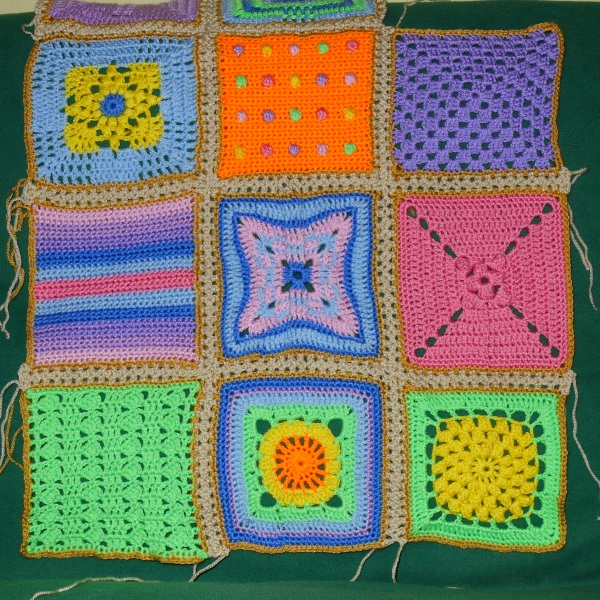
I forgot to photograph the blocks as laid out until I was about half way through packing them away so I took a quick photo.
Here they are – a bit crumpled having been covered and uncovered several times.
And here is the plan as displayed in the drawing programme. If the blocks are not perfectly positioned this is because towards the end I was hurrying to swop them around to mirror what I had spread out on the floor as I made changes.
I showed you earlier how I intend to join the squares – HERE
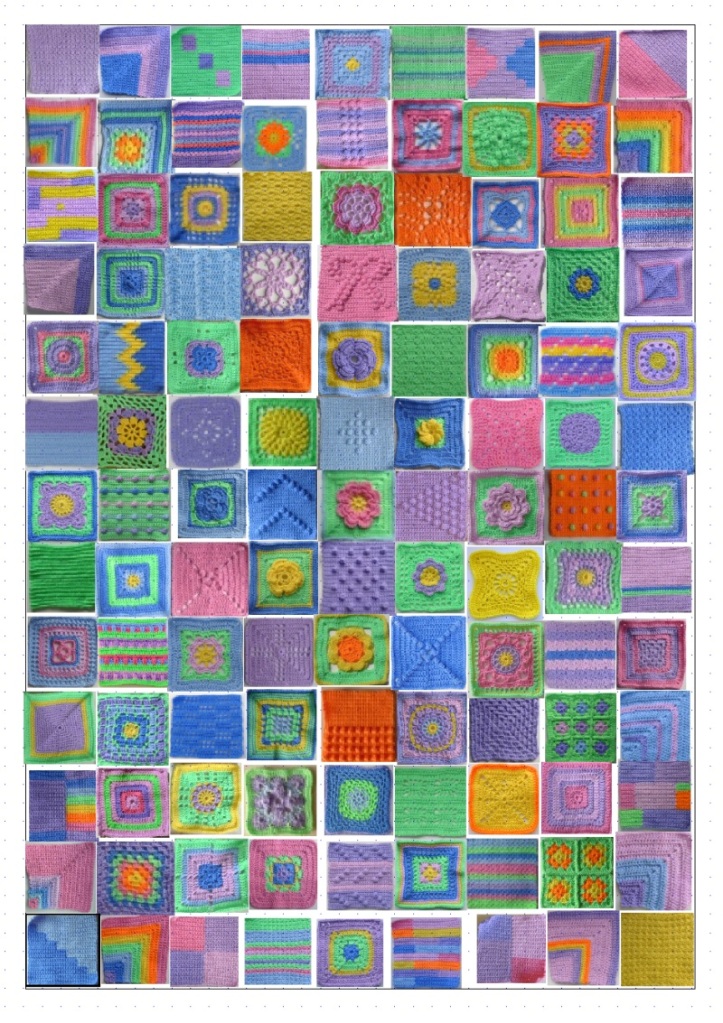
The blocks are now packed in sets of six (in my previously numbered bags). The numbers starting at the top left hand corner all ready to be taken out and joined together row by row when we are given the nod by Rachel.
Jane I am utterly and truly GOBSMACKED!!! I can’t believe that you did all this, it’s incedible to see it all laid out like this…..I’ve been wondering when we’d get to see a glimpse of the end product. Excellent job!!!
LikeLike
I’m just crazy aren’t I? If I didn’t do all that I’d have more time for the actual crochet. But I just have to. It’s only a prevision of what the blanket may become. I’m beginning to be eager to start the joining.
LikeLike
I thinks it’s genius! Sometimes seeing the “outcome” is the very thing needed to keep you focused! Well done again, totally in awe xxx
LikeLike
Wow! Fantastic. Love how our minds work differently but similarly too!!
LikeLike
That’s the fun of sharing isn’t it?
LikeLike
Well, if you’ve rendered Maryanne speechless then you’ve achieved the near-impossible!!! Your blanket is going to be spectacular 🙂
LikeLike
Hope so!
LikeLike
What an awesome system you are using! Love it 🙂 The blanket will be beautiful ❤
LikeLike
Thank you! I was afraid I would just look strange.
LikeLike
So impressed with this organisation! What is more those corner blocks have just disappeared into the diagonals at the corners- genius! The blankets are all going to look so different!
LikeLike
I’m so looking forward to seeing all the different blankets as they get put together. 🙂
LikeLike
Great to see it coming together!
LikeLike
Thanks!
LikeLike
You are a certified techie, congrats!! Jane I love the joining, those colors seems to bring out all the rest of colors 🙂
LikeLike
Thanks!! Glad you like the look.
LikeLike
I do!! 🙂
LikeLike